This science experiment is so fun that the first time I did it, I could not believe my eyes. Even better, all you need is 3 materials and 4 minutes to perform this experiment.
Materials:
- Dry erase marker
- Glass bowl
- Water
Steps:
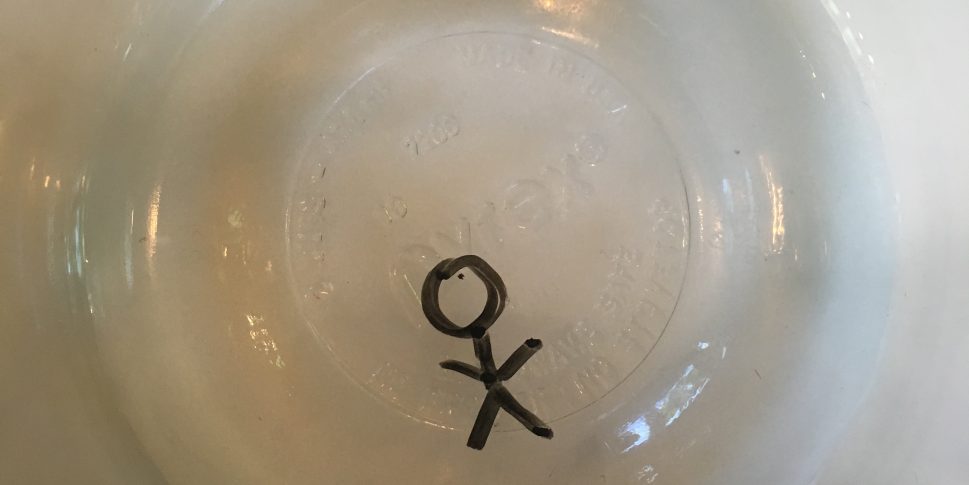
- Using the dry erase marker, draw a design on the bottom of the glass bowl. Make sure all parts of the design are connected.
- Let the drawing sit for 1-2 minutes until it is completely dry.
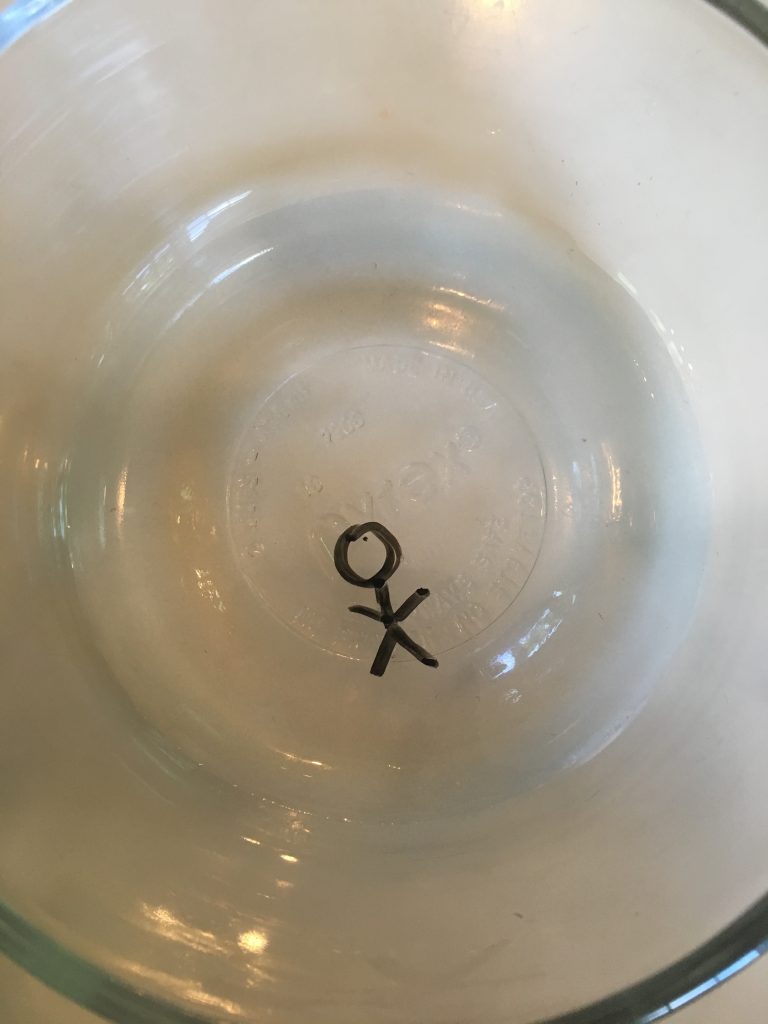
- Tilt the glass bowl and pour water just up to the edge of the drawing.
- Slowly tilt the glass so the water goes over the drawing.
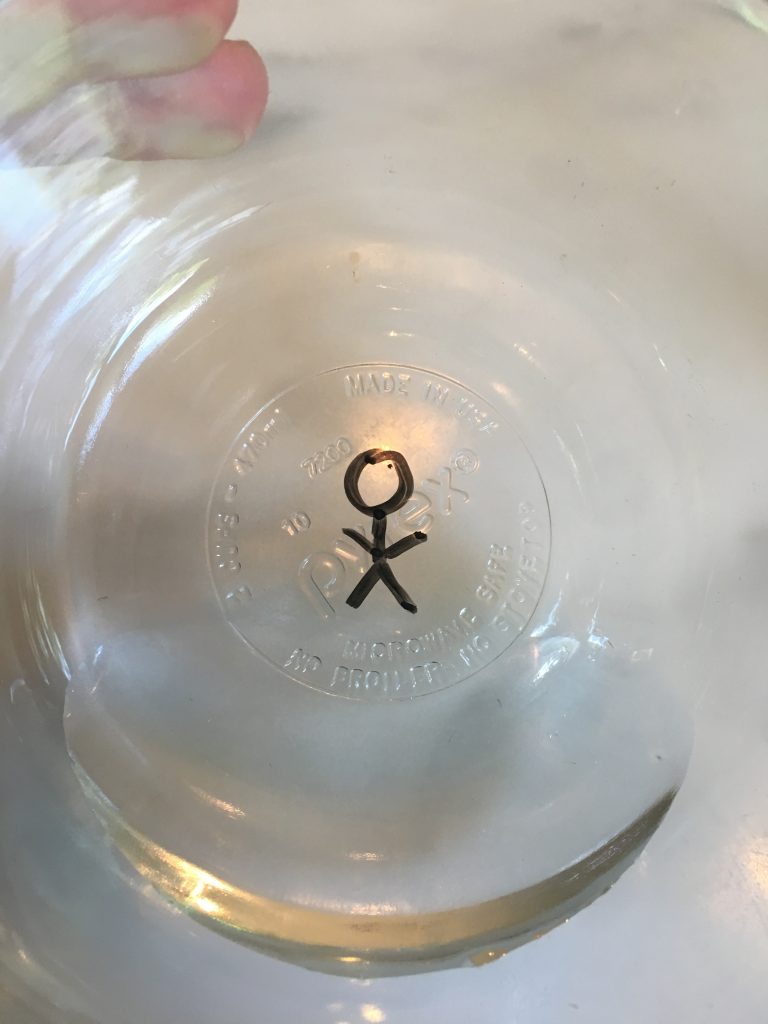
- Your drawing should start to pull away from the bottom of the bowl and float on the top of the water. If this does not happen, allow the drawing to sit in the water for 1-2 more minutes, as it may not have been completely dry when conducting the experiment.
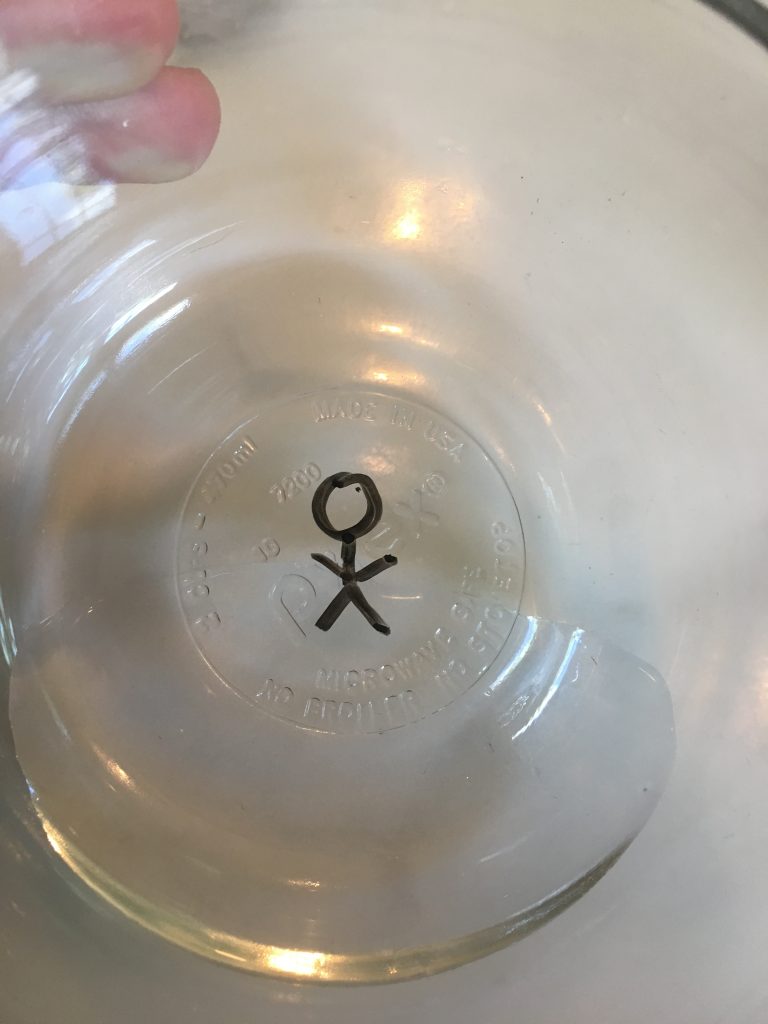
- Shake the glass and watch your drawing move around the top of the water!
What makes my picture float on the water?
Dry erase marker leaves behind a mixture of pigments and a type of alcohol. The alcohol dissolves and the pigments are left behind as a solid. Glass is so smooth that the solid slides right off when it gets wet! The pigments have a lighter density than water, so they float to the top of the water.
Kelly
This looks like a really fun experiment. I’m a full grown adult and I cannot believe I didn’t know that an expo marker drawing could float on top of water. Thanks for the post!
Julia
Thank you! I know, this is a super cool experiment.
Delaney
I did this with my kids and they loved it. It’s crazy how such a small thing can amuse them for so long. What a great idea!
Tammy
This is so cool! Does it matter what color expo marker we use or does it only work with black?
Julia
All colors work great! We also did the experiment with a red expo marker and it worked really well, but the black makes it easier to see.
Neda
I am very excited to do this with my brother it is going to be so much fun!!!!!!
Neda
I can’t believe this works!!! Thank you for the amazing post as always!!!
Julia
I’m so glad it worked for you! I hope you had fun with your brother!